
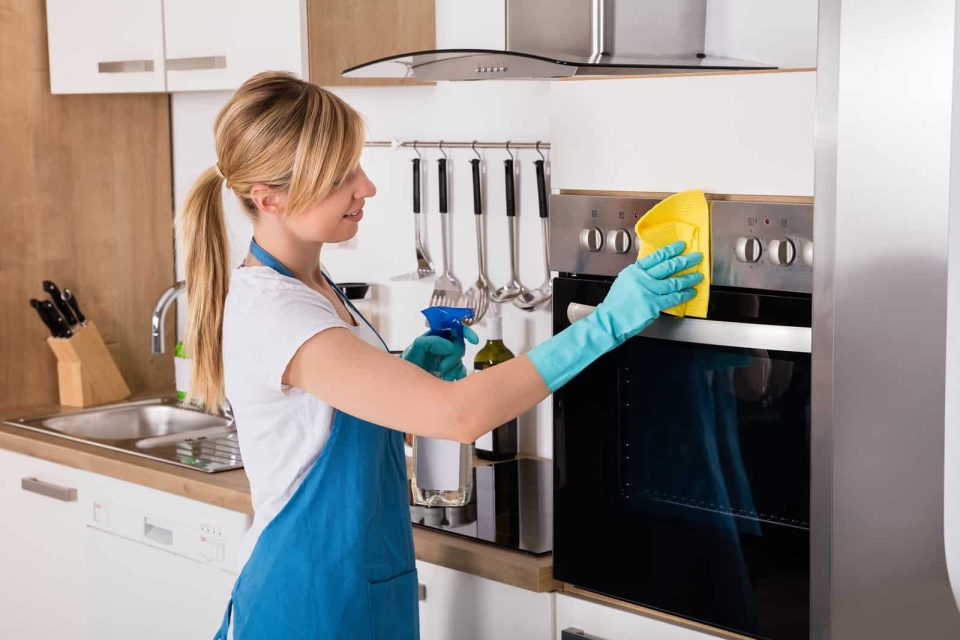
The kitchen is the absolute heart of the modern home, serving as the central hub for food preparation, family gatherings, and daily nourishment. Over time, the very appliances that preserve and cook your food can become breeding grounds for baked-on grease, carbon deposits, hard water scaling, and unpleasant odors. While conventional commercial cleaning products promise rapid results, they often rely heavily on harsh synthetic chemicals, artificial fragrances, and volatile organic compounds that can linger on food-contact surfaces and diminish indoor air quality.
Deep cleaning your kitchen appliances does not require an arsenal of toxic chemical solutions. In fact, some of the most effective degreasers, deodorizers, and descalers are simple, food-safe pantry staples. Embracing natural cleaning ingredients creates a safer environment for your family, protects the structural integrity of your appliances, and delivers a spotless finish without chemical residues. This comprehensive guide outlines the exact tactical methods for deep cleaning your primary kitchen appliances using entirely natural, eco-friendly ingredients.
The Essential Natural Cleaning Arsenal
Before beginning the deep cleaning process, you must gather a few fundamental natural ingredients. These elements work synergistically to break down organic matter through basic chemical reactions, eliminating the need for heavy scrubbing or noxious fumes.
-
White Vinegar: This mild acetic acid is an exceptional natural descaler, deodorizer, and degreaser. It cuts through oily films and breaks down the mineral deposits left behind by hard water.
-
Baking Soda: Sodium bicarbonate acts as a gentle, non-abrasive scouring agent. It neutralizes acidic odors and creates a mild paste when mixed with water to lift stubborn, baked-on grime without scratching delicate glass or enamel surfaces.
-
Fresh Lemons: High in citric acid and natural essential oils, lemons act as a powerful antibacterial agent, bleach alternative, and fresh-scented grease cutter.
-
Hydrogen Peroxide: A natural disinfectant and bleaching agent, three percent hydrogen peroxide is highly effective at sanitizing high-touch surfaces, eliminating mold, and whitening discolored plastic components.
-
Castile Soap: Vegetable-based liquid castile soap provides the necessary surfactant action to lift away loosened dirt and grease particles so they can be easily rinsed clear.
Restoring the Refrigerator and Freezer
The refrigerator operates continuously to keep your food safe, making interior hygiene paramount. A deep clean here requires removing all expired items and sanitizing every square inch to prevent cross-contamination.
Begin by turning off or unplugging the appliance to conserve energy while the doors are open. Remove every item from the shelves, discarding anything expired or spoiled. Take out all removable glass shelves, crisper drawers, and door bins. Allow these components to adjust to room temperature before washing them; placing a cold glass shelf directly into hot dishwater can cause the glass to shatter instantly due to thermal shock.
Once the removable parts reach room temperature, wash them thoroughly in a sink filled with warm water and two tablespoons of liquid castile soap. For stubborn, sticky spills from leaked condiments, sprinkle a small amount of baking soda directly onto the spot and scrub gently with a damp microfiber cloth. Rinse well and set aside to air dry completely.
To clean the interior cabinet, mix a solution of equal parts white vinegar and warm water in a spray bottle. Spray the interior walls, ceiling, and floor generously. Wipe down the surfaces using a clean microfiber cloth, working from the top down so any loosened debris falls to the bottom. For tightly sealed corner crevices, use an old toothbrush dipped in the vinegar solution to dislodge trapped crumbs. Wipe the rubber door gaskets carefully with a damp cloth; avoiding straight vinegar on rubber is wise, so use a dilute soap solution here to prevent the rubber from drying out and cracking over time. Place a fresh, open box of baking soda on a middle shelf before restocking your food to continuously absorb ambient odors.
Deep Cleaning the Oven and Cooktop
The oven often presents the greatest challenge because heat bakes grease and food spills onto the interior walls, turning them into stubborn carbon crusts. Avoid the self-cleaning cycle if possible, as it generates extreme heat that can damage internal electronic control boards and release smoky fumes into the home.
To clean the oven naturally, create a thick, spreadable paste by mixing one cup of baking soda with roughly three to4 tablespoons of water. Remove the oven racks and submerge them in a bathtub filled with warm water and half a cup of castile soap, letting them soak for several hours to loosen burnt-on debris.
Using a sponge or a paintbrush, apply the baking soda paste evenly across the entire interior surface of the oven, including the glass door. Avoid applying the paste directly onto the heating elements or any open gas vents. Once coated, let the paste sit undisturbed for at least twelve hours or overnight. During this time, the baking soda will naturally break down the baked-on grease molecules.
The following morning, take a damp microfiber cloth and wipe away as much of the dried baking soda paste as possible. Next, fill a spray bottle with pure white vinegar and mist the interior surfaces lightly. The vinegar will react with any remaining baking soda residue, creating a gentle foaming action that lifts the final remnants of carbonized grease. Wipe the entire interior clean with a fresh microcloth until no powdery residue remains. Scrub the soaked oven racks with a stiff brush, dry them thoroughly, and slide them back into place.
For ceramic or glass cooktops, sprinkle a thin layer of baking soda directly over the surface. Spray the powder with white vinegar until it fizzes, then cover the cooktop with a towel soaked in hot water for fifteen minutes. The trapped heat and moisture will soften any boiled-over residues, allowing you to wipe the cooktop completely clean with zero scratching.
Decontaminating the Dishwasher
It may seem counterintuitive to clean an appliance that constantly runs soap and water, but dishwashers frequently accumulate trapped food particles, soap scum, and hard water minerals that clog spray arms and reduce washing efficiency.
Start by pulling out the bottom rack completely to access the floor of the machine. Remove the cylindrical filter located at the base, twist it open, and rinse it under hot running water. Use an old toothbrush and a drop of castile soap to scrub away any trapped slime or debris from the filter mesh before reinserting it. Inspect the spray arms to ensure the tiny water jet holes are not blocked by mineral scale; if they are, use a wooden toothpick to gently clear out the obstruction.
To execute the main deep clean, place a dishwasher-safe bowl filled with two cups of pure white vinegar upright on the top rack of the otherwise empty machine. Run a complete washing cycle using the hottest water setting available. The vinegar will circulate throughout the interior, dissolving stubborn soap scum and breaking down lime deposits on the heating element.
Once the first cycle concludes, sprinkle one cup of baking soda evenly across the bottom floor of the dishwasher. Run a second, shorter hot water cycle. This step neutralizes any residual acidic vinegar odors and acts as a mild abrasive brightening agent, leaving the interior stainless steel or plastic lining brilliant and fresh.
Purifying the Microwave
The microwave frequently suffers from splattered sauces and hardened food explosions. Scrubbing these stubborn spots by hand is frustrating and can potentially damage the internal wave-guide cover.
The most effective natural method relies entirely on steam. Fill a microwave-safe glass bowl with one cup of water. Slice a fresh lemon in half, squeeze the juice directly into the water, and drop the lemon halves into the bowl as well. Place the bowl inside the microwave and run the appliance on high power for five minutes, or until the water reaches a rolling boil and the interior window becomes heavily steamed.
Keep the microwave door securely closed for an additional ten minutes after the timer ends. This allows the trapped citric acid steam to penetrate and loosen every particle of hardened food residue. Carefully remove the hot bowl, take out the glass turntable plate, and wash it in the sink like a standard dish. Take a clean microfiber cloth and effortlessly wipe down the interior walls, ceiling, and door. The softened grime will lift away with virtually zero physical effort, leaving behind a clean, entirely natural citrus scent.
Frequently Asked Questions
Is white vinegar safe to use on all types of appliance exteriors?
White vinegar is highly effective on stainless steel, glass, and standard plastic exterior panels. However, you should never use vinegar or any other acidic cleaner on natural stone components, such as marble or granite countertops that surround your built-in appliances, as the acid can permanently etch the stone surface. Additionally, avoid using high concentrations of vinegar on raw aluminum, as it can cause discoloration over time.
How often should I perform a natural deep clean on my kitchen appliances?
For optimal performance and hygiene, aim to deep clean your refrigerator, oven, and dishwasher every three to four months. High-use appliances like the microwave should be steamed out every two weeks to prevent splattered food from baking on repeatedly, which makes it significantly harder to remove later.
Can I mix baking soda and white vinegar together in a closed bottle to make a spray cleaner?
No, you should never mix them together in a sealed container. When an acid like vinegar combines with a base like baking soda, they immediately neutralize each other and produce carbon dioxide gas. In a closed spray bottle, this gas build-up can cause the container to burst. Furthermore, once the chemical reaction finishes, the resulting liquid is essentially just salt water, losing the unique cleaning benefits of both individual ingredients. For best results, apply them sequentially so the chemical reaction occurs directly on the stained surface.
How do I naturally clean and sanitize the rubber seal around my refrigerator door without damaging it?
To clean the rubber gasket safely, mix a few drops of liquid castile soap into a bowl of warm water. Dip a microfiber cloth into the soapy water and wipe down the folds of the gasket to remove crumbs and mold. If you encounter stubborn black mold spots, wipe them with a cloth dampened with three percent hydrogen peroxide, which kills mold spores naturally without degrading or drying out the rubber composition the way harsh bleach or concentrated vinegar can.
What is the best way to clean the greasy mesh filters underneath my range hood naturally?
Remove the aluminum mesh filters from the range hood and place them flat inside your kitchen sink. Sprinkle a generous amount of baking soda completely over the mesh, then pour a quarter cup of liquid castile soap over the top. Fill the sink with boiling water until the filters are fully submerged. Let them soak for twenty minutes as the heat, soap, and baking soda emulsify the trapped grease. Scrub gently with a dish brush, rinse with hot water, and dry thoroughly before reinstalling.
My dishwasher still smells musty even after the vinegar and baking soda cleaning method. What else can I do?
A persistent musty odor usually indicates water is pooling somewhere or the door seal is harboring bacteria. Check the black rubber door seal along the very bottom edge of the dishwasher door, as this hidden area does not get washed during a standard cycle and often collects a thick layer of slime. Scrub this area manually with a toothbrush and warm soapy water. Additionally, verify that your kitchen sink drain line or garbage disposal is clear, as a partial clog there can cause dirty sink water to back up into your dishwasher hose.